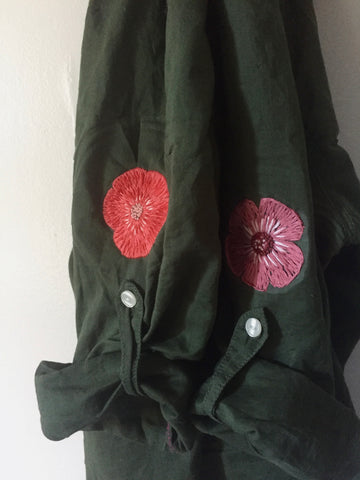
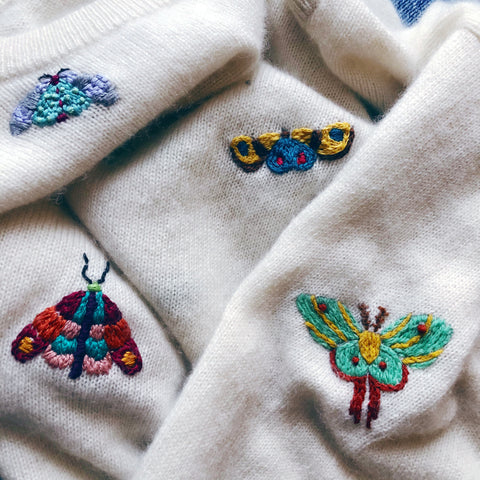
If you stop and look around, you might start to notice hand embroidery is everywhere. From a cute piece of hoop art to the detail on a vintage shirt.
Paper can be hand embroidered and so can leather, or really anything you can poke a needle and string through, really. Embroidery can be a surface design, or the stitches can hold layers of fabric together.
Practically speaking, embroidery is creating visible stitches that form an image or pattern. And if you embroider over a rip or moth hole, embroidery becomes visible mending!
I love using embroidery as a way to mend over stains and tears in clothing. It can also be a fun way to update or add a little something special to an otherwise drab garment. Knowing a few embroidery stitches can bring new interest to your thrift shopping adventures.

However you decide to incorporate hand embroidery into your lifestyle, it only takes a few stitches to get started. And these beginning stitches will give you the know-how to complete almost any beginning project.
Running Stitch, Backstitch, Split Stitch, Satin Stitch, French Knot

While there are hundreds of embroidery stitches, many of them are chain type decorative stitches used in embellishment, and not really worth committing to memory. Those are the stitches that you can reference and learn as you need to use them.
On with the show!
I recorded a video showing these 5 embroidery stitches. If this is your first time stitching, this video might be quite helpful as well!
The more you practice embroidering and switching between different types of stitches within the same project, the more comfortable you will become with the stitches.
Here's another post on a button down shirt I upcycled with embroidery:
Be sure to visit wrenbirdarts.com for embroidery patterns and supplies! Click here.

